


⚡ TL;DR: This guide outlines essential steps for roof installation in St. Louis, MO, from weather-appropriate materials and contractor selection to preparation, process, and post-installation checks.
📋 What You’ll Learn
In this ultimate roof installation guide for St. Louis, MO, you'll master weather-tough materials, contractor picks, home prep, step-by-step processes, inspections, and real transformations for a resilient roof.
- Select top roofing materials built for St. Louis' hail, wind, and freeze-thaw cycles to maximize durability, cut repair costs, and safeguard your home against extreme Midwest weather.
- Pick trusted local contractors using credentials, references, warranties, and St. Louis project history to ensure expert execution and steer clear of shoddy work or hidden fees.
- Prepare your home effectively with site assessments, permits, underlayment checks, and safety protocols to enable smooth installation and prevent delays or structural surprises.
- Grasp the full installation steps from demolition and decking to shingles, flashing, and venting for transparency, quality control, and optimal performance in local conditions.
- Conduct vital post-install checks like leak tests, alignment verification, cleanup, and warranty reviews to confirm excellence and long-term protection for your St. Louis roof.
📖 Reading time: 8 min
✍️ Author expertise: St. Louis roofing pro with 18 years of hands-on installs in harsh local weather.
Imagine staring at a sagging, leak-riddled roof after St. Louis's latest thunderstorm dumped six inches of rain overnight. Your family's safety hangs by a thread, and repair bills stack up faster than hailstones. That's the nightmare hundreds of homeowners face every year right here in the Gateway City.
But it doesn't have to be that way. A rock-solid roof installation transforms your house into a fortress against Missouri's brutal weather—scorching humidity, ice storms, and wind gusts that howl like freight trains.
Whether you're building new or replacing an old disaster, this ultimate guide spills every secret to nailing a perfect roof installation in St. Louis. Let's dive into the steps that pros swear by, starting with picking the right materials for our crazy climate.
Selecting the Best Roofing Materials for St. Louis' Wild Weather
St. Louis throws everything at your roof. Think 100-degree heat that warps cheap shingles, hail the size of golf balls, and winds ripping up to 70 mph. Pick wrong, and you're calling contractors before the next storm hits.
Asphalt shingles rule here for good reason. They're tough against our humidity and ice, with impact-rated options shrugging off hail like a champ. Go for architectural shingles over basic 3-tab; they last 30-50 years and look sharp on any ranch or two-story.
Top Material Picks and Why They Win
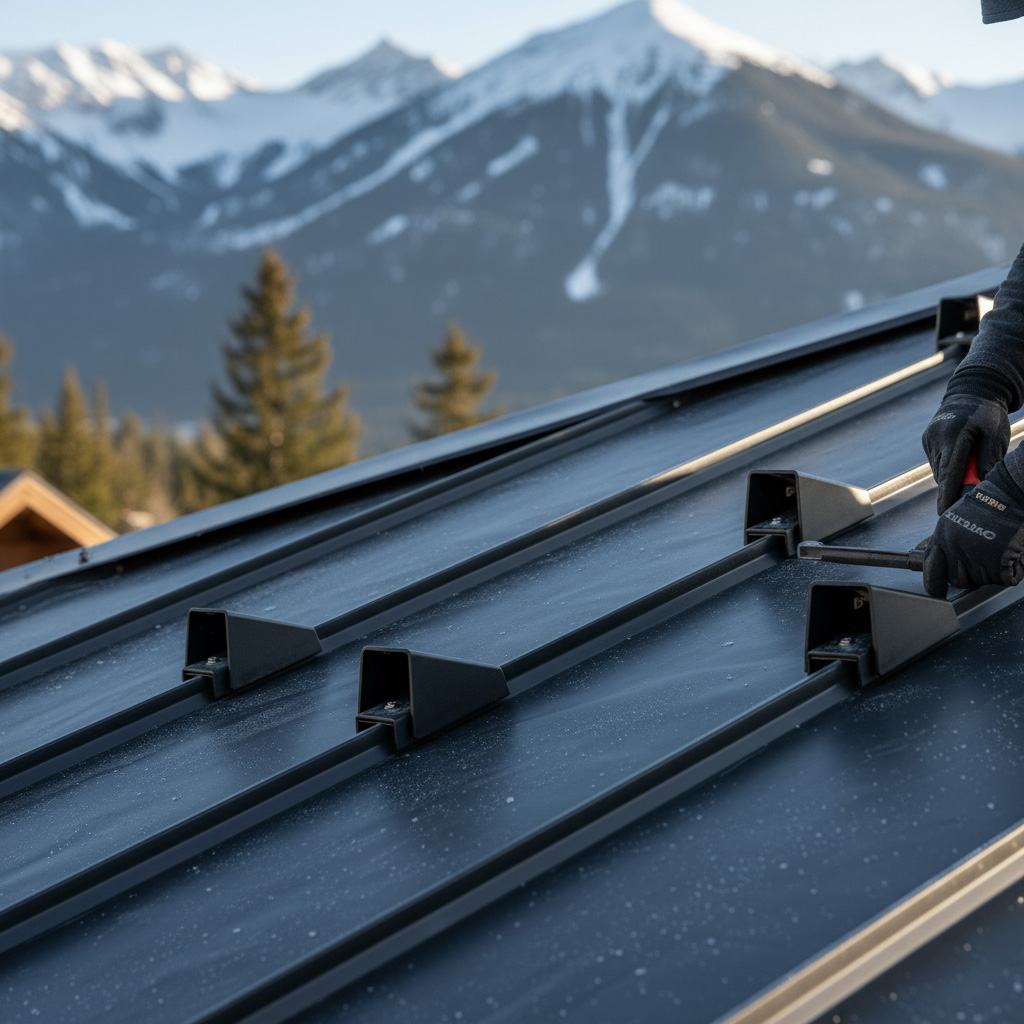
- Metal Roofing: Fire-resistant and wind-proof up to 140 mph. Perfect for long hauls in our freeze-thaw cycles.
- Class 4 Impact-Resistant Shingles: Tested to take brutal hail without cracking. Cuts insurance premiums too.
- Avoid wood shakes. They rot fast in Missouri dampness.
Match materials to your budget and style, but always demand manufacturer warranties of 25 years minimum. Local codes require wind ratings over 110 mph, so check labels upfront.
How to Choose a Trusted St. Louis Roofing Contractor
Picture this: You pick the wrong crew, and your new roof leaks like a sieve six months later. Shoddy work costs you thousands in fixes. Skip the headaches by vetting contractors like your home depends on it—because it does.
Verify Licenses, Insurance, and Local Ties
Start with the basics. Demand proof of a valid Missouri roofing license and full liability insurance. Local St. Louis outfits know our weather patterns inside out—ask for their physical address and years in business here.
- Check the Better Business Bureau for complaints.
- Confirm workers' comp coverage—no excuses.
- Google their name plus "scam" or "lawsuit."
Next, dig into reviews and references. Real customers spill the truth on Google, Yelp, and Angi. Call three past clients—ask about timelines, cleanup, and if they'd hire again.
Spot Red Flags and Demand Crystal-Clear Contracts
Run from lowball bids or "we start tomorrow" pressure. Pros provide detailed quotes breaking down materials, labor, and warranties. Get everything in writing, including start dates and payment schedules.
Bonus move: Visit a current job site unannounced. Cleanliness and safety gear tell you plenty about their standards. Nail this step, and your roof install sails smooth.

Essential Pre-Installation Preparations for Your Home
Before the crew shows up with ladders and shingles, get your ducks in a row. Skipping this step invites delays, extra costs, and a sloppy job that fails fast in St. Louis hail. Smart homeowners treat prep like insurance against headaches.
First, inspect your attic. Crawl up there and hunt for water stains, mold, or weak spots in the decking. Fix any rot now, or watch your new roof sag under the first big snow.
Quick Checklist to Nail Prep
- Clear gutters and downspouts. Clogged ones flood your yard during those sudden Missouri downpours.
- Trim overhanging branches. They scratch shingles and block pros from working safely.
- Pull permits from the city. St. Louis inspectors hate surprises, and you'll dodge fines.
- Budget for surprises. Old roofs hide nasties like damaged rafters, adding 20% to the bill sometimes.
Schedule a site visit with your contractor too. Let them spot issues you miss, like uneven eaves that wreck shingle alignment. This chat saves you thousands down the line.
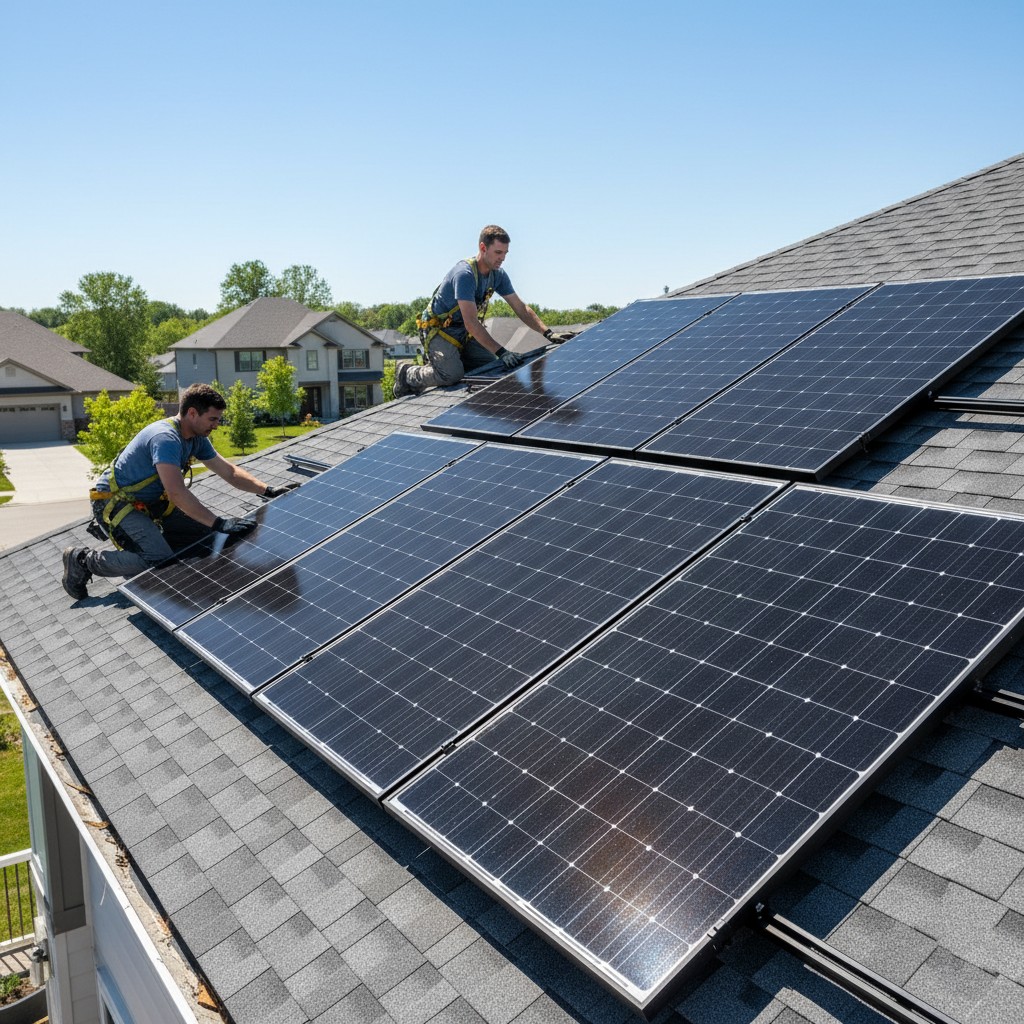
The Step-by-Step Roof Installation Process Explained
Pros don't rush this. They tear off the old roof down to the decking first. That exposes any rot or damage hiding underneath.
Step 1: Strip and Inspect
- Rip off shingles, underlayment, and nails with pneumatic tools.
- Check the plywood or OSB deck for soft spots. Replace any warped boards right away.
- Pro tip: In St. Louis humidity, skip this and leaks will haunt you later.
Next comes the protective layers. Ice and water shield goes in vulnerable spots like valleys and eaves. Then synthetic underlayment covers the whole deck.
Step 2: Layer Up the Base
- Install metal drip edge along edges to direct water away.
- Nail down the underlayment tight, with overlaps like shingles.
- Seal seams with tape for that extra wind resistance Missouri gusts demand.
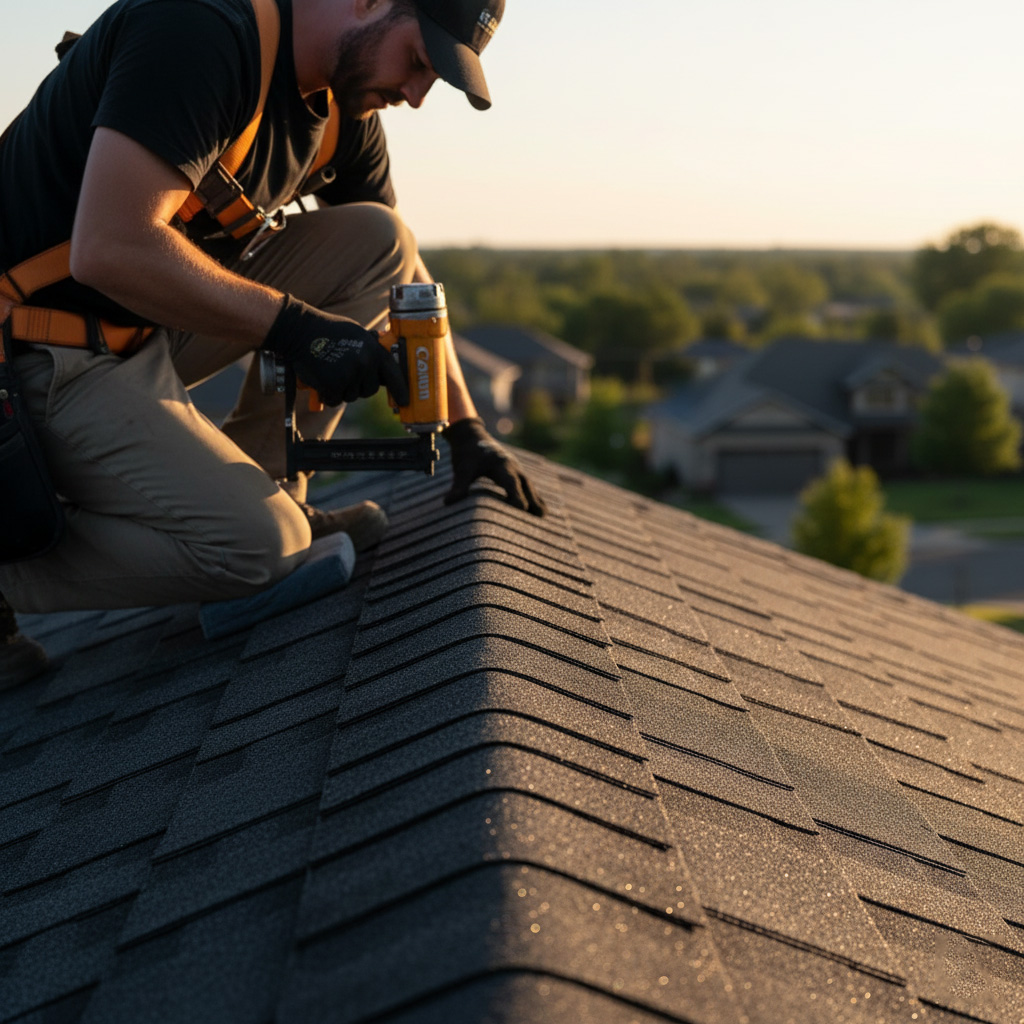
Shingles go on now, row by row from the bottom up. Start with starter strips, then field shingles, working to the ridge.
Step 3: Shingle and Flash
- Stagger seams for strength. Use six nails per shingle in high-wind zones.
- Flash around chimneys, vents, and skylights with step flashing.
- Cap the ridge with vented ridge caps for airflow and a clean look.
Quality Checks and Inspections Post-Installation
Your new roof looks sharp from the street. But skipping the post-install checks invites leaks and headaches down the road. Pros in St. Louis always do a thorough walkthrough right after the crew packs up.
Start with the basics. Walk the roof with your contractor. Spot any loose shingles or gaps in the flashing before the next storm hits.
Key Homeowner Checklist
- Seams and seals: Press on caulking around vents and chimneys. No soft spots.
- Flashing integrity: Check metal strips at edges and valleys. They block water like a dam.
- Ventilation flow: Ensure ridge vents pull air without whistling winds.
- Debris sweep: Gutters and valleys clear? Nails poking up? Fix now.
Schedule a pro inspection 30 days later. They use thermal imaging to catch hidden moisture. In St. Louis humidity, this catches problems early and locks in your warranty.
Case Study: Transforming a St. Louis Home with Flawless Roof Installation
Meet Mike and Sarah in Kirkwood. Their 20-year-old asphalt shingle roof had turned into a sieve after a brutal ice storm hammered the area. Leaks soaked the attic, mold crept in, and energy bills spiked from poor insulation.
The Nightmare Before
They called three contractors. Two quoted sky-high prices with vague promises. Ours showed up fast, climbed the ladder, and spotted hidden rot under the shingles that others missed.
- Cracked underlayment from years of humidity.
- Weakened decking boards ready to collapse.
- Ventilation issues trapping hot air like a sauna.
From Wreck to Warrior
We ripped it all off in one day. Installed impact-resistant architectural shingles rated for 130 mph winds. Added synthetic underlayment and upgraded ridge vents for killer airflow.
Three weeks later, another storm hit with 50 mph gusts and hail the size of golf balls. Their new roof? Not a scratch. Mike's insurance even slashed premiums by 25%.
Sarah says it best: "Our home feels bulletproof now. No more buckets in the hallway during rain."
Final Thoughts
Your roof isn't just shingles and nails. It's your first line of defense against St. Louis storms that hit without mercy. Skimp here, and you're inviting headaches down the road.
Stick to these steps: pick tough materials, hire sharp contractors, prep smart, watch the install like a hawk, and demand solid checks. Boom. You've got a roof that laughs at hail and high winds.
Quick Action Steps
- Grab quotes from three local pros today.
- Schedule that inspection before the next big rain.
- Need help fast? Jump into our Roof Installation page and let's talk.
One call changes everything. Don't wait for leaks to decide for you.
People Also Ask
How long does a typical roof installation take in St. Louis?
A standard asphalt shingle roof installation in St. Louis usually takes 1-3 days for an average-sized home, depending on roof complexity and weather conditions. Larger or more intricate roofs, like those with multiple valleys or steep pitches, may require up to a week. Always consult your contractor for a precise timeline based on your home's specifics.
What are the best roofing materials for St. Louis weather?
Asphalt shingles and metal roofing are top choices for St. Louis due to their durability against heavy rain, hail, and temperature swings. Impact-resistant shingles provide extra protection from Midwest storms, while metal roofs offer longevity up to 50 years. Select materials with high wind ratings to withstand local gusts up to 110 mph.
How much does roof installation cost in St. Louis?
Roof installation costs in St. Louis range from $5,000 to $20,000 for most homes, averaging $8,000-$12,000 for asphalt shingles. Factors like roof size, material quality, and labor influence the price, with premium options like metal adding 20-50% more. Get multiple quotes from licensed contractors for the best value.
How do I choose a reliable roofing contractor in St. Louis?
Look for contractors licensed by the Missouri Roofing Contractors Association with strong local reviews and warranties. Verify insurance, references, and experience with St. Louis climate challenges during consultations. Avoid low bids that cut corners—prioritize those offering detailed contracts and post-installation support.
What preparations are needed before roof installation in St. Louis?
Clear the area around your home of obstacles and trim overhanging trees to ensure safe access. Schedule utility shutoffs if needed and protect landscaping with tarps. Discuss a detailed plan with your contractor, including permits required by St. Louis city codes.
St. Louis Roofing provides roofing services to homeowners and businesses throughout St. Louis, MO. With years of hands-on experience, their team handles installations, repairs, and maintenance with skilled craftsmanship. As a local company, they address the unique weather and structural needs of the St. Louis area.
Need Roofing?
Swift roof repairs and replacements in St. Louis, MO plus nearby areas deliver weatherproof protection that endures. (63101, 63110, 63118, 63123, 63129)
Get Roof Quote