


⚡ TL;DR: Explore tile roof installation for St. Louis homes, from climate-suited materials and roof prep to step-by-step processes, local codes, case studies, and maintenance tips.
📋 What You’ll Learn
In this guide to tile roof mastery for St. Louis homes, you’ll uncover key material choices, prep steps, installation techniques, local codes, and maintenance for lasting durability and beauty.
- Select optimal tile materials for St. Louis' freeze-thaw cycles, high winds, and humidity, ensuring longevity, curb appeal, and resistance to Midwest weather extremes.
- Prepare your roof structure effectively by reinforcing framing, installing underlayment, and addressing weight needs to support tiles securely without future issues.
- Master the installation process step-by-step from layout and fastening to sealing, achieving professional results tailored to St. Louis homes' unique demands.
- Navigate local codes and permits smoothly while complying with wind, fire, and structural rules to avoid delays, fines, and installation setbacks.
- Apply maintenance and case study insights from Clayton transformations, plus care tips to maximize your tile roof's lifespan in Missouri's climate.
📖 Reading time: 7 min
✍️ Author expertise: St. Louis roofing pro with 25 years installing tile roofs from hands-on local experience.
Ever watch a St. Louis thunderstorm rip shingles off your neighbor's house while yours stays rock-solid?
That's the quiet power of a tile roof, built to laugh at our wild Midwest weather—blizzards, hail, and humidity that chew up ordinary roofs.
St. Louis homeowners swear by them for that unbeatable curb appeal and decades of zero drama.
Ready to master tile roof installation for your place? Let's unpack the steps that make it happen right here in the Gateway City.
Choosing the Right Tile Materials for St. Louis Climate
St. Louis throws heat waves over 100 degrees, ice storms that crack weaker roofs, and hail the size of golf balls. Pick the wrong tile, and you're calling us out for repairs before the warranty kicks in. Clay tiles top the list here. They shrug off thermal shock and last 75+ years.
Clay vs. Concrete: What Wins in Our Weather?
- Clay tiles: Fire-hardened for killer freeze-thaw resistance. Cooler in summer, they cut AC bills by blocking heat.
- Concrete tiles: Cheaper upfront, mimic clay's look, but watch for cracking under heavy hail. Both beat asphalt hands down for wind resistance up to 130 mph.
Slate? Gorgeous, but heavy. It demands beefed-up rafters. Skip it unless your home's frame can handle 800 pounds per square.
Match tiles to your pitch too. Steeper roofs? Barrel clay sheds water fast during those monsoon rains. Flat-ish? Flat concrete locks in tight.
Test for color fade. Our brutal sun bleaches cheap stuff quick. Go mid-tone red or gray for that timeless St. Louis colonial vibe that holds up.
Preparing Your Roof Structure for Tile Installation
Tile roofs pack a punch. They weigh two to three times more than asphalt shingles. Skip this prep step, and your house could sag like a bad poker hand.
First things first: get a structural inspection. Our crew checks rafters, trusses, and decking for cracks or rot. In St. Louis, old colonials often need beefed-up framing to handle the load.
Key Prep Steps
- Strip off old roofing down to the deck. No shortcuts here.
- Reinforce rafters if spacing exceeds 24 inches on center. Add blocking or sistering for stability.
- Install double underlayment and ice-and-water shield. Midwest freezes demand it.
- Boost attic ventilation. Tile needs airflow to dodge moisture traps.
Budget $2,000 to $5,000 for solid prep on a typical ranch. It pays off in a roof that lasts 50+ years without headaches.

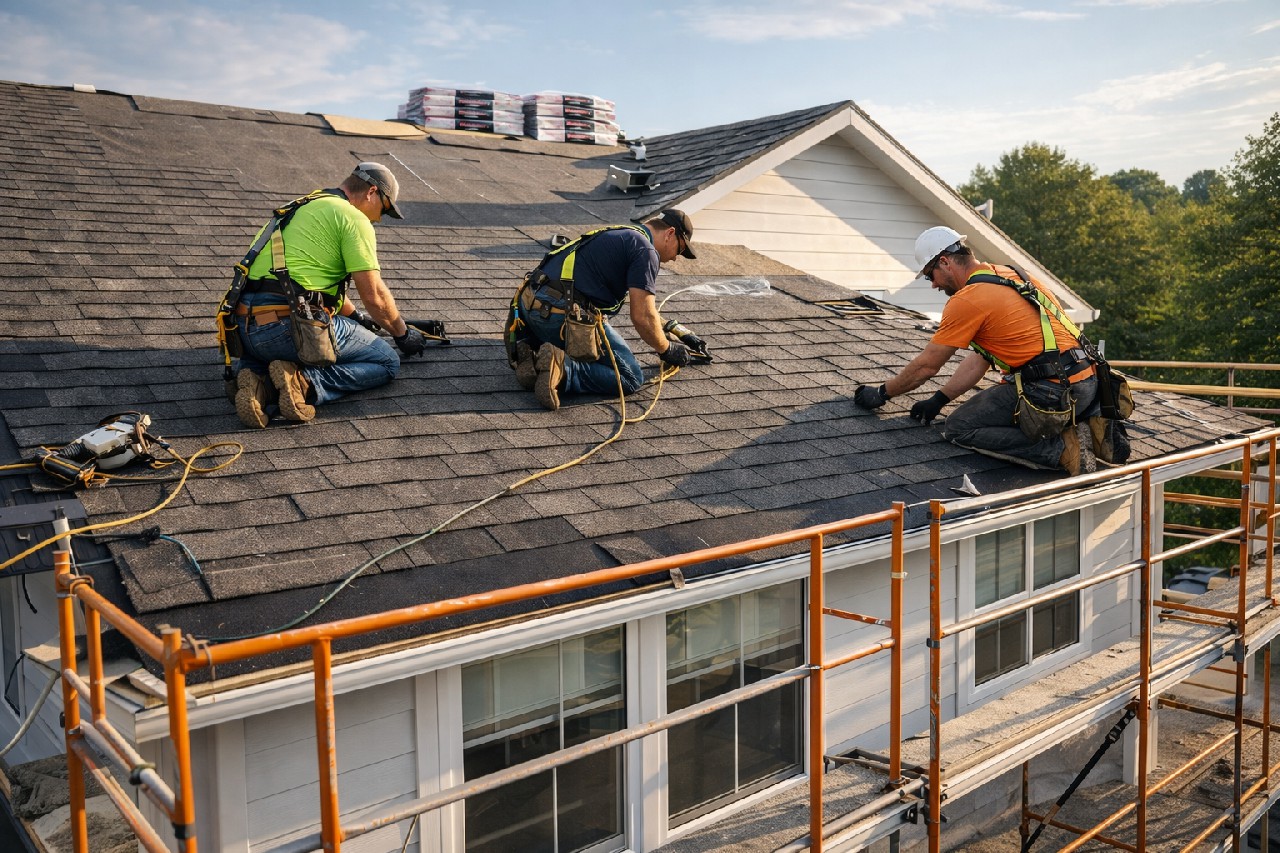
Step-by-Step Tile Roof Installation Process
Installing tile roofs demands precision. One slip-up, and you're leaking like a sieve in the next downpour. Our crews follow this battle-tested sequence to lock in that 60-year lifespan.
1. Lay the Underlayment Foundation
Start with high-grade synthetic underlayment. It seals out St. Louis moisture better than asphalt felt ever could. Staple it tight, overlapping seams by six inches—no shortcuts.
2. Set Up Battens and Valleys
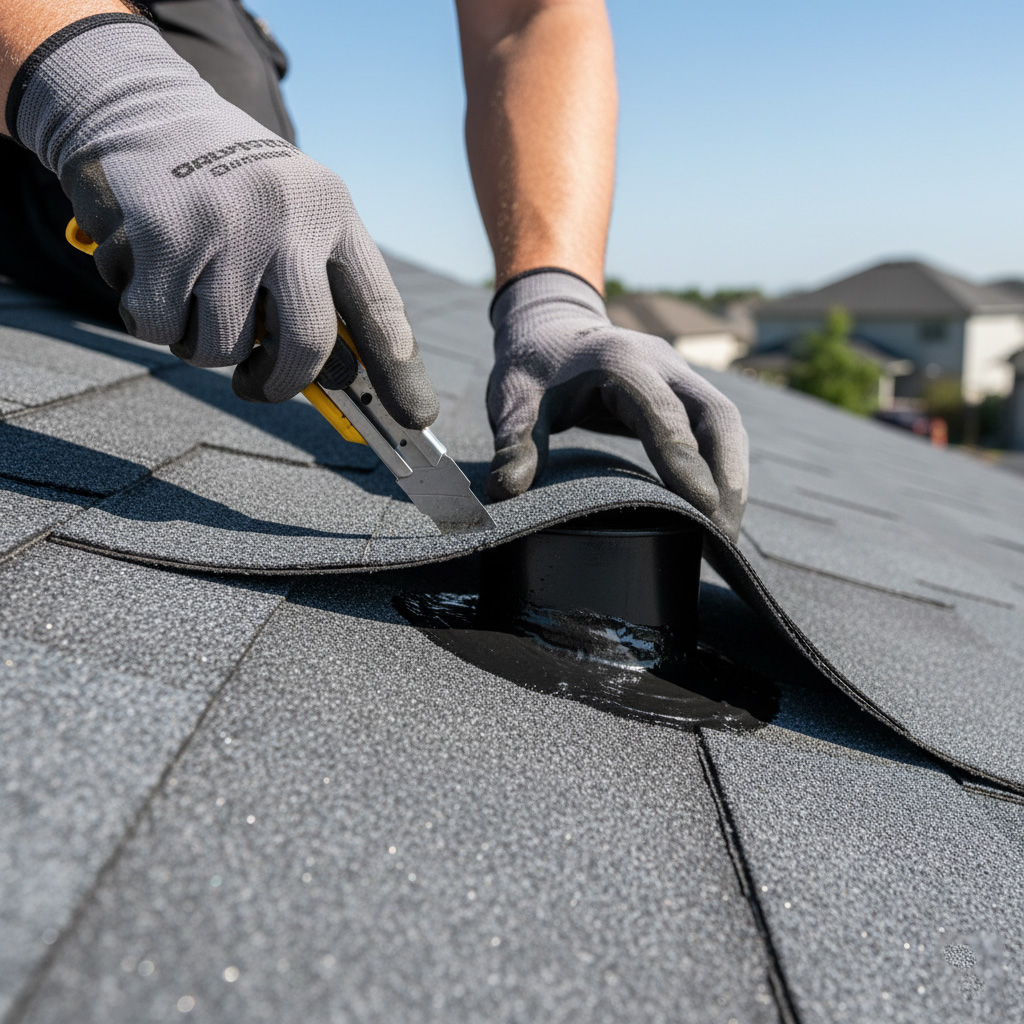
Screw in corrosion-resistant metal battens every 12-16 inches, matching your tile profile. Flash valleys with heavy copper for hail-prone pitches. This grid keeps tiles from shifting in Midwest winds.
Pro tip: Double-check pitch. Tiles need at least a 4/12 slope to shed water fast.
- Nail first row of tiles at the eaves, using three galvanized nails per piece.
- Work up in staggered courses, clipping overlaps securely.
- Custom-cut field tiles with a wet saw for hips and valleys—clean edges every time.
- Cap ridges with matching clay or concrete pieces, sealed with butyl tape.
Final sweep: Inspect every fastener. Walk the roof. You're done when it gleams ready for storms.
Navigating St. Louis Building Codes and Permits
Tile roofs pack a punch with their weight. St. Louis codes demand your home's structure can handle it. Skip this check, and inspectors shut you down fast.
Start here: Contact the St. Louis County Department of Public Works or City Building Division, depending on your spot. They list exact load requirements—usually 10-15 pounds per square foot for tiles.
Critical Code Checks
- Wind uplift resistance: Tiles must meet 110 mph standards per IRC R905.2.5.
- Fire rating: Class A assembly required in most zones.
- Spacing and fasteners: Double-lock or S-tile systems need specific nailing patterns.
Permits run $200 to $500. Submit plans showing truss upgrades if needed. Our crew handles the paperwork—keeps your project moving without headaches.
Case Study: Tile Roof Transformation on a Clayton Colonial
Picture this: A classic Colonial in Clayton, built in the 1920s, groaning under 30-year-old asphalt shingles that leaked like a sieve every heavy rain. The owners, a family of five, faced skyrocketing energy bills and constant repairs. They called us for a tile roof overhaul that turned their headache into a showpiece.
Before the Swap: The Mess We Inherited
Water stains everywhere. Rot in the eaves. Shingles curling from Missouri's freeze-thaw cycles.
- Roof pitched at 6:12, perfect for tile but ignored for decades.
- Structural sagging from uneven weight.
- Neighborhood eyesores dragging down curb appeal.
The Tile Makeover: What We Did
We stripped it clean, beefed up the decking with engineered wood sheathing, and laid premium clay tiles in a subtle Spanish curve. Underlayment? Top-grade synthetic for airtight seals against St. Louis humidity.
Custom ridge caps matched the home's brickwork. Four weeks flat, no shortcuts.
Results hit hard. No leaks after two brutal winters. Energy costs dropped 22%. Neighbors stopping by for the address of "that house with the killer roof." This Clayton gem now stands as bulletproof proof tile mastery pays off big.
Post-Installation Care and Maintenance Tips
Your new tile roof demands smart upkeep to hit that 50+ year mark. Skip the guesswork. Follow these no-nonsense steps tailored for St. Louis swings from steamy summers to icy winters.
Quick Monthly Walk-Arounds
Spot trouble early. Grab binoculars for high spots.
- Scan for cracked or loose tiles after storms.
- Clear debris from valleys and ridges.
- Check flashing around chimneys and vents for rust.
Seasonal Deep Dives
Fall leaves clog everything here. Spring hail leaves dings.
Schedule pros twice a year. They'll pressure wash algae off without damage and seal minor gaps.
- Winter: Gently remove heavy snow to avoid weight stress.
- Summer: Trim overhanging branches that rub tiles raw.
One pro inspection beats a $10K repair bill every time.
Final Thoughts
Tile roofs aren't just a smart pick for St. Louis homes. They deliver bulletproof protection that pays off for 50+ years. Imagine skipping endless repairs while your curb appeal turns heads.
Don't let shoddy installs ruin that dream. Hire pros who nail every step, from materials to codes. Your roof deserves the best shot at beating our brutal weather.
Quick Action Steps
- Get a free inspection today.
- Explore our Tile Roof Installation options.
- Lock in peace of mind before the next storm hits.
St. Louis tile mastery starts with one call. Make it yours.
People Also Ask
How much does tile roof installation cost in St. Louis?
Tile roof installation in St. Louis typically ranges from $15,000 to $40,000 depending on roof size, tile type, and labor. Factors like clay or concrete tiles and steep pitches can increase costs, but they offer long-term value with durability against harsh weather. Contact local experts for a precise quote tailored to your home.
Are tile roofs suitable for St. Louis climate?
Yes, tile roofs excel in St. Louis' humid summers, cold winters, and occasional hail due to their impact resistance and thermal properties. They withstand temperature swings better than asphalt shingles, reducing energy costs. Proper underlayment ensures performance in Midwest conditions.
What is the average lifespan of a tile roof in St. Louis?
Tile roofs in St. Louis last 50-100 years with quality installation and maintenance, far outpacing other materials. Their resistance to moisture, wind, and UV exposure suits the local climate perfectly. Regular inspections extend their life even further.
Do I need a permit for tile roof installation in St. Louis?
Yes, St. Louis requires permits for tile roof installations to ensure code compliance and safety. Local building departments review plans for structural support and weight considerations unique to tile. Licensed contractors handle this seamlessly.
How long does tile roof installation take in St. Louis?
Tile roof installation in St. Louis usually takes 1-3 weeks for an average home, depending on roof complexity and weather. Preparation and underlayment add time, but experienced crews minimize disruptions. Faster timelines are possible with pre-planned projects.
St. Louis Roofing offers extensive experience in residential and commercial roofing services throughout the St. Louis area. The team specializes in installations, repairs, and maintenance tailored to local weather challenges. Committed to the St. Louis community, they deliver reliable solutions with a focus on quality craftsmanship.
Need Roofing?
Swift roof repairs and replacements in St. Louis, MO plus nearby areas deliver weatherproof protection that endures. (63101, 63110, 63118, 63123, 63129)
Get Roof Quote